![]()
We Ship Worldwide with Free UK Shipping on orders £60+ with Standard Delivery
![]()
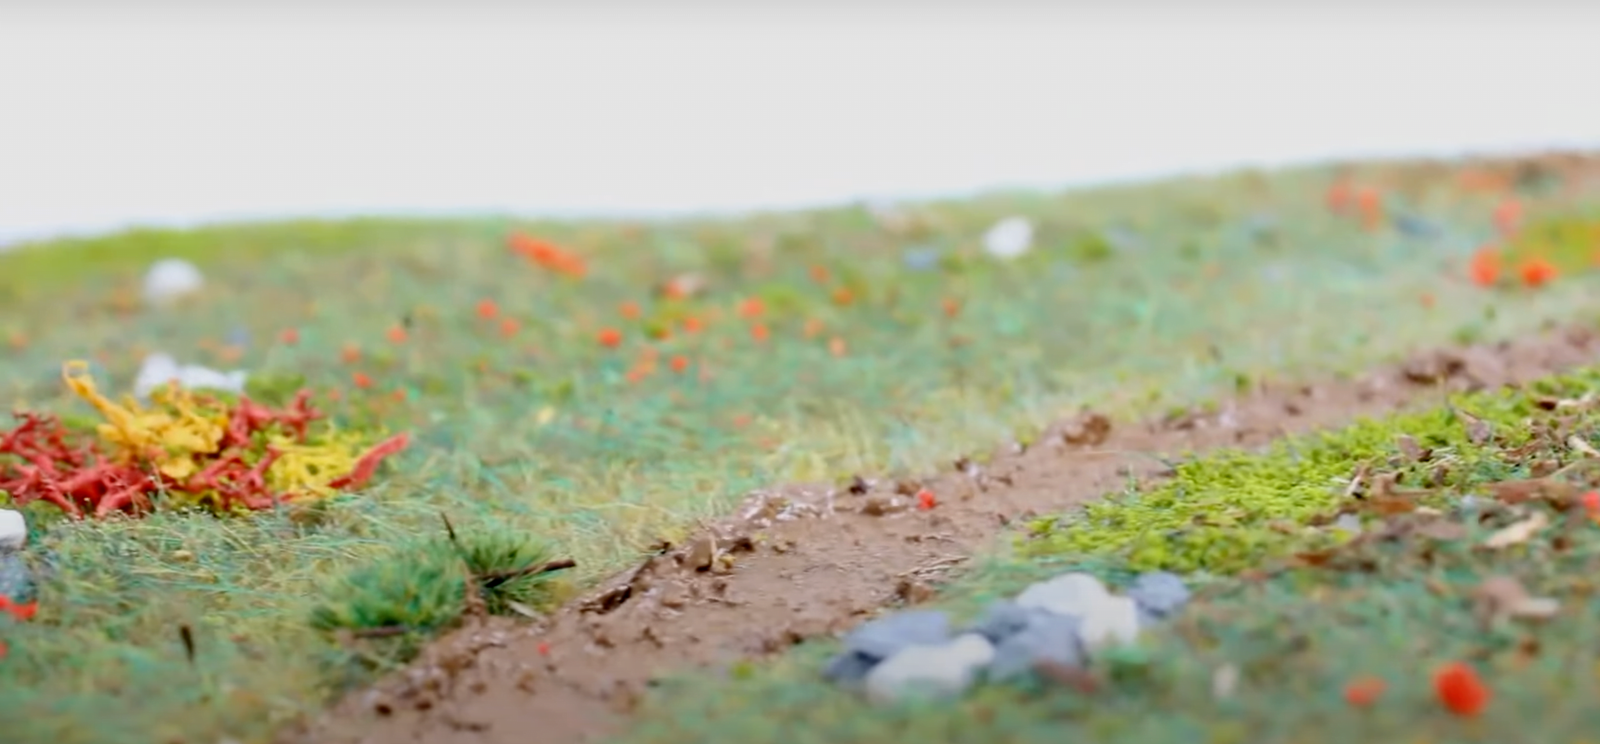
Creating a Realistic Autumn Diorama
We have made a beautiful autumnal diorama to showcase how easy it is to use our professional model scenery products to create realistic and visually interesting dioramas and model landscapes. Why not have a go and follow along to create your own? We have outlined everything you will need, the steps you’ll need to follow as well as some top tips for modelling success.
These are the materials used to build our autumn diorama:
- Baseboard
- Basing glue
- Static grass layering spray
- Pro Grass Applicator
- Static basing grass in the spring/ summer shade 2mm
- Static layering grass in the autumn dead grass shade 4mm
- Static autumn leaf litter 4mm
- Model mud (which can have a wet or dry finish) in the colour brown
- Grass tufts
- Foliage and scatters
We begin by laying down our basing glue, upon which our first layer of static grass will be added. We have decided to section our basing board off into two halves, with a winding gap left in the glue which will create a winding forest path. For this first layer we are using our autumn-coloured static basing grass. Use our autumn selection for a more realistic autumnal colour palette but remember that the techniques demonstrated here can be applied to any seasonal or creative diorama.
Top tip: we rarely see straight lines in nature! When you’re creating your meadow path, we recommend creating a winding path rather than a straight one for a more natural look. It will also create some visual interest for the eye.
Then, we add the first layer of static grass to the glue using our Pro Grass Applicator. Once the first layer of static basing grass has been added, we are using our Static Grass Layering Spray to coat the static grass in a thin coat of glue. This ultra-light glue ensures the static grass on the first layer remains standing but allows us to add a second layer of a greener static layering grass, which we add using our Pro Grass Applicator. You don’t have to wait for any of your glue layers to dry while building – just keep adding layers of static grass onto the wet layering spray.
Top tip: use multiple colours of static grass to create a more realistic landscape. If you look outside, you’ll notice that grass is not all one uniform shade. Add layers of different shades of static grass for a more dynamic and realistic finish.
We then add our realistic model mud using a brush. We recommend stippling the brush to create texture. Don’t be afraid to use a thick layer of mud – this will create a more realistic three-dimensional effect.
We then go in with a third layer of our Static Grass Layering Spray and sprinkle on some autumnal leaf litter, as well as placing some grass tufts throughout our grassy meadow and along the sides of our path. Again, by mixing different colours of tufts to create our shrubs, we are achieving a more realistic effect.
Finishing touches include some realistic gravel and scatters.
Feel free to have a go at recreating our autumnal diorama or explore our range of model scenery products and create your own! We’d love to see it: send it in to our customer gallery. As always, happy modelling!
Sign up to scenery news
Bringing You the latest News from the WWScenics Community: New Releases, Tutorials, Tips & Tricks to improve your modelling, Upcoming Events, Exclusive Offers, and so much more!