![]()
Ultimate Guide To Weathering Powders
At WWScenics, we are passionate about creating the best model scenery products to elevate your model railway layout, diorama, or wargaming battle board. Our products are created with realism in mind. We look to nature and the outside world when designing our products, in the hopes of helping you recreate what you see outside, or in making your visions come to life. One of the integral products in our line-up that we don’t often talk about are weathering powders. If you’re looking for an easy way to ramp up the realism of your diorama or model scenery, keep reading. We have outlined how to use our weathering powders, and the different effects you can create below.
How to use model scenery weathering powders
Our weathering powders are just that: powders. You can use them in one of two ways (or use both techniques on the same diorama for an extra touch of variety and realism).
The easiest way is to use them dry. Dip a dry brush straight into the pot of weathering powder and brush a fine layer onto whatever it is you want to give a naturally weathered look to. Seal your layer of weathering powder with a clear matte varnish to stop it from fading or migrating elsewhere on your model scenery.
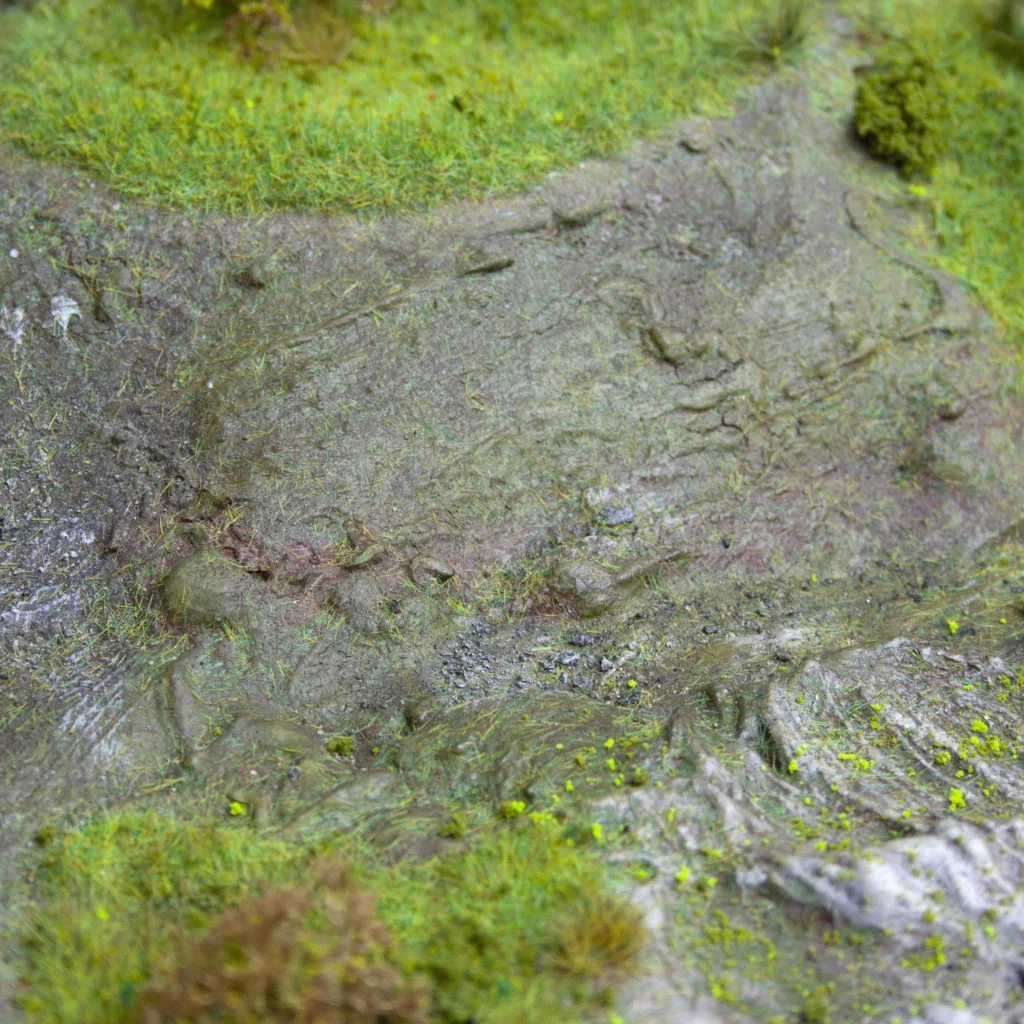
This is a great technique for applying a swipe of realistic moss onto your rocky cliff-face, or some colour variation to your desert boulders.
For a more advanced technique, you can also mix some of the weathering powder with an isopropyl-based liquid and apply using a brush. By doing it this way, you get more control over the placement of your colours, and they will apply densely. Once the weathering powder starts to dry it will fade a little, but you can always build colour back up. You can then blend the hard edges with a dry clean brush to get the desired effect.
What you can do with our weathering powders
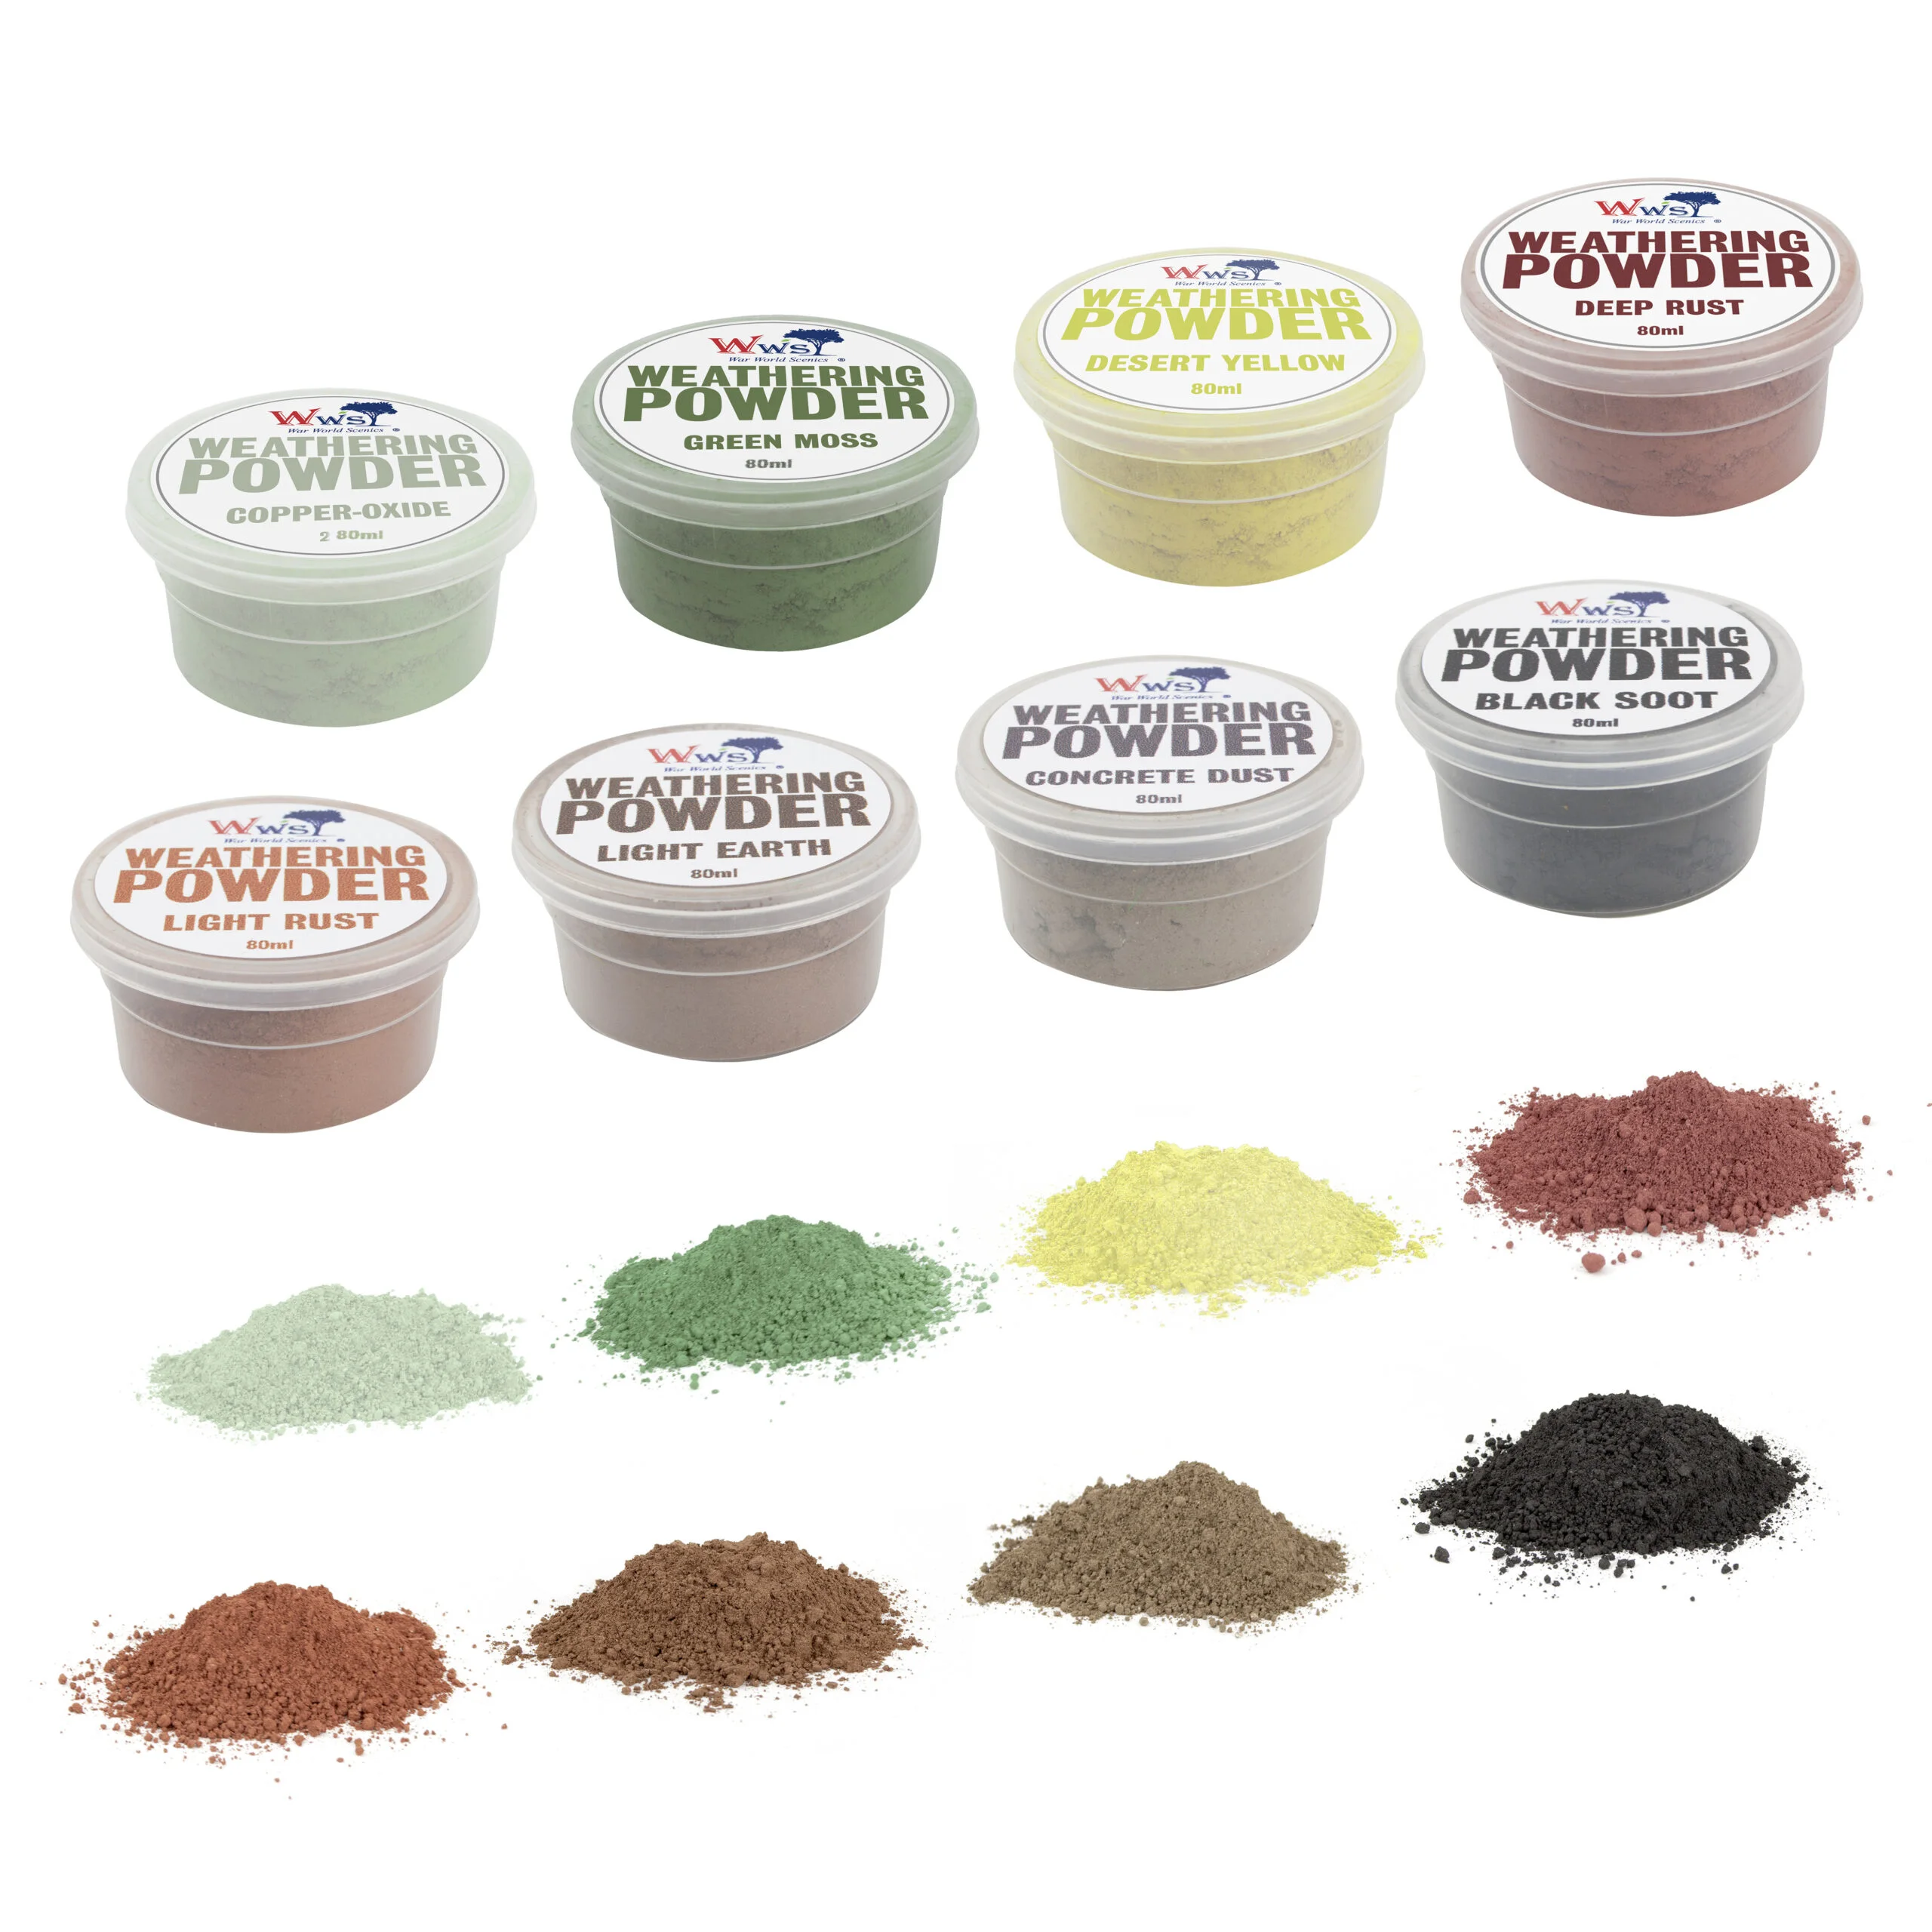
We sell a vast range of weathering powders that you can buy individually in pots, with sets or with our Weathering Station. Each colour is incredibly versatile. You can really let your imagination run wild and use our weathering powders in any way you’d like. That mossy green colour is perfect for adding depth to your riverbed, as well as moss on a tree trunk. There are no limits to what you can create using our weathering powders.
Add realism to your metals
Use our copper oxide weathering powder, our deep rust or light rust weathering powders, or our metallic iron weathering powder to really add depth and dimension to any items on your diorama that are meant to look like metal. Add a corroded patch to a railway ramp, and rust to your tractor on your farm landscape, to your tank tracks and on your truck wheels.
Add depth to your natural landscapes
Our green moss weathering powder is perfect for adding more interest to a natural roadside or forest path, and our light earth shade is ideal for adding some realism to your boulders, dirt paths or rocky outcrops. If you take a look outside, you’ll see that nothing in nature is all one flat colour: everything has variations in hue. By using our weathering powders to add some colour and texture, you’ll be able to create realism in just a couple of brushstrokes.

More effects you can achieve with our weathering powders
- Adding an industrial effect to your train track
- Adding a weather-beaten effect to your cliff faces
- Adding extra realism through various shades of colour to your boulders
- Add a rusty rivet effect to your model trains
- Adding a corroded metal effect effect to bridges and gates
- Creating a dusty effect to your train platforms
- Splash effects for your vehicles
- Adding depth to your riverbeds, ponds, or lakes
- Anywhere you need to add some colour variation and a weather-beaten look, use our weathering powders.
Have a go at using our professional weathering powders!
Why not try your hand at using our weathering powders on your model railway layout or diorama. The beauty of these powders is that they are versatile: you can use the same shade to achieve different types of effects. If you have any questions or queries, feel free to get in touch with our friendly team. Someone is always on hand to help you. As always, happy modelling!
Sign up to scenery news
Bringing You the latest News from the WWScenics Community: New Releases, Tutorials, Tips & Tricks to improve your modelling, Upcoming Events, Exclusive Offers, and so much more!