![]()

Deep Cast Water 600g
£31.49
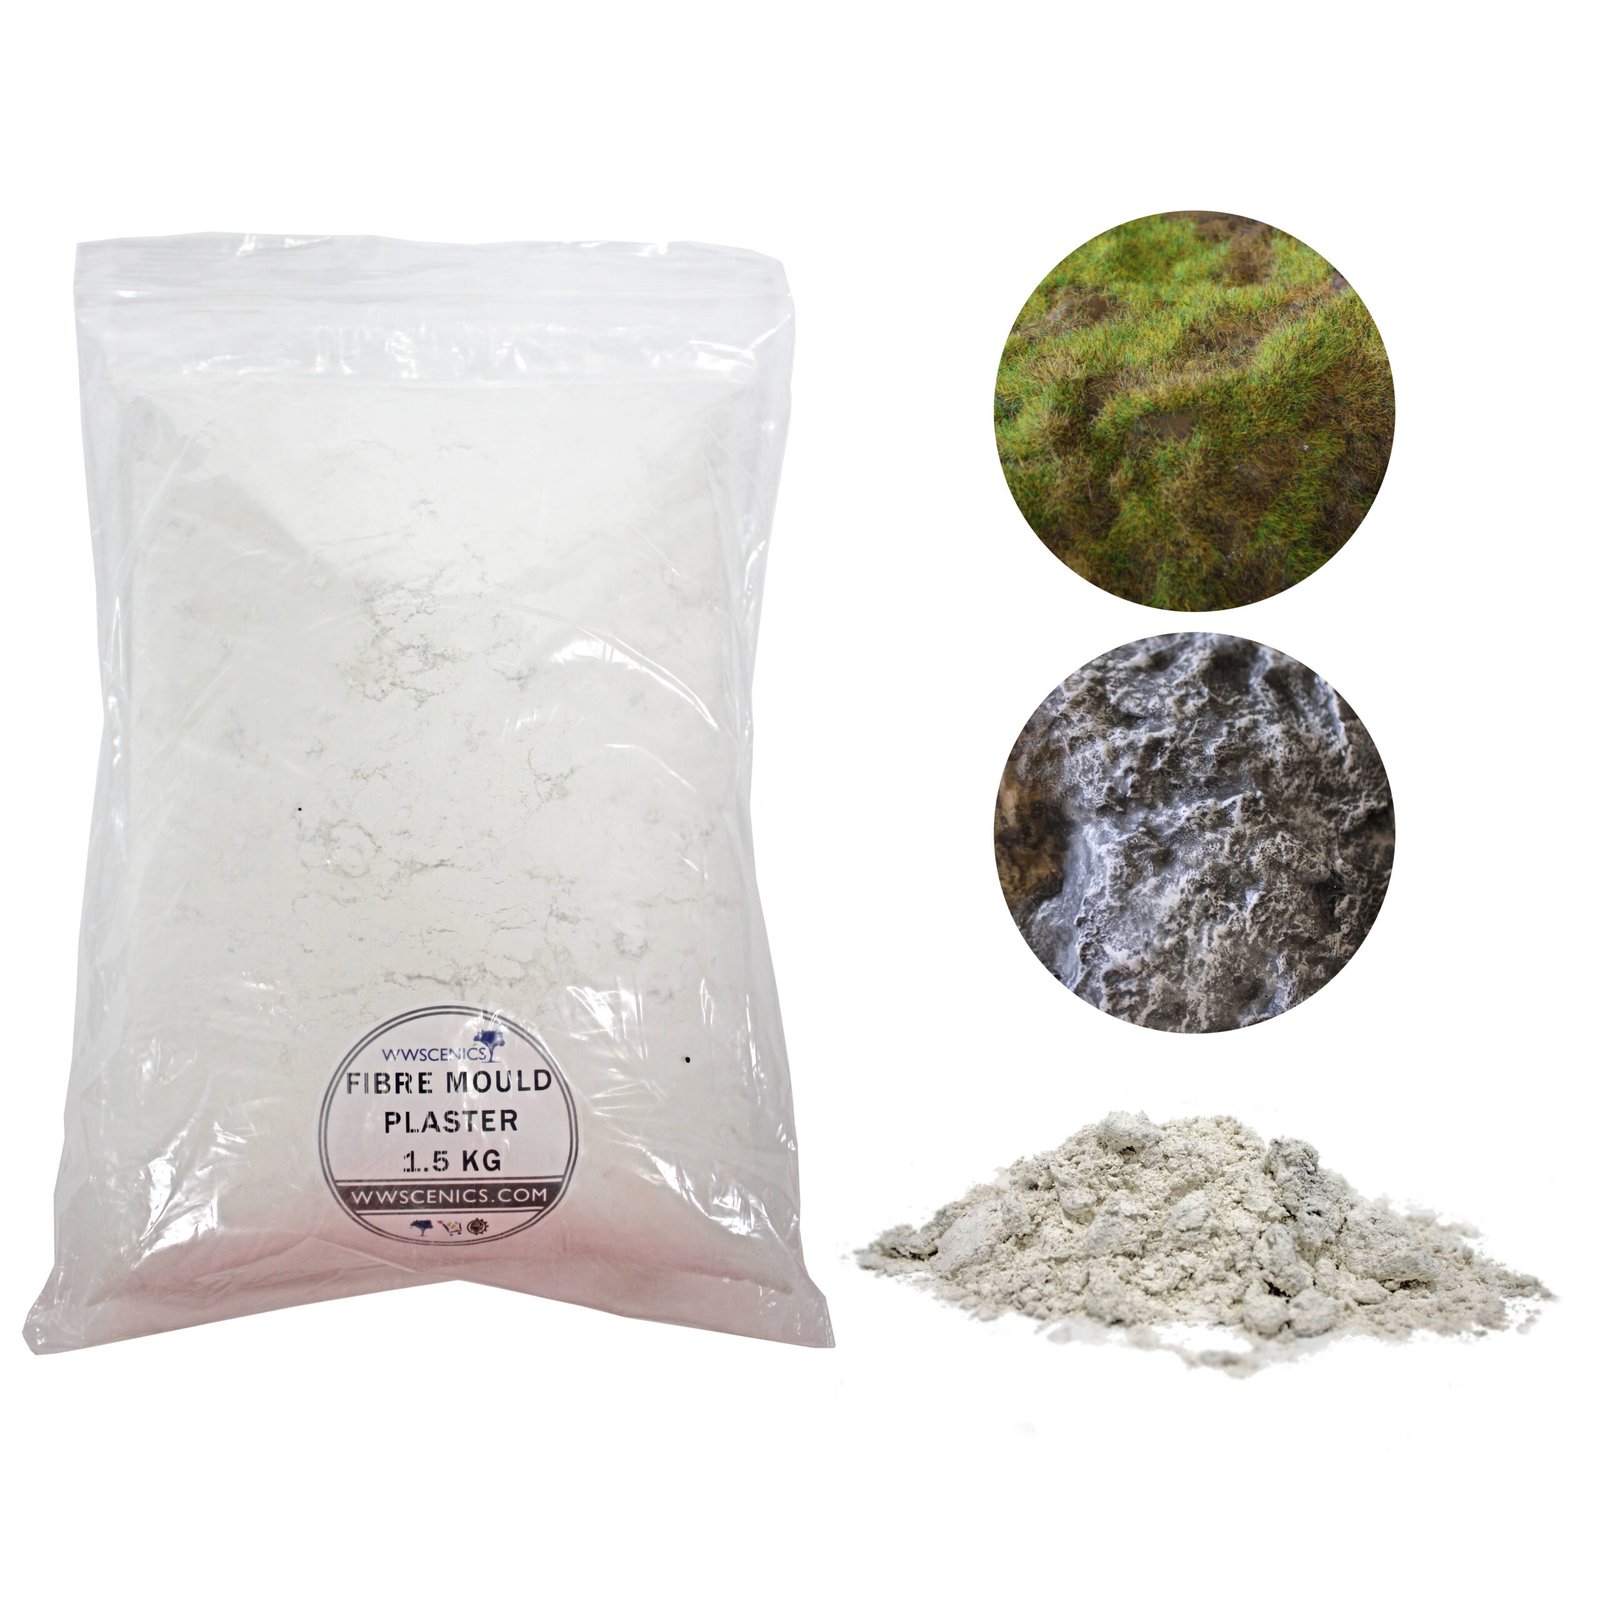
Fibre Mould | Modelling Plaster
Price range: £10.49 through £15.99
When it comes to modelling rivers, lakes, and seas, there are so many products on the market, it is hard to choose. From single pour acrylics, which is hard to work with as it shrinks cracks, and the edges can peel if you do not go slow building the layers up, to WWS Water Sheets, which is a plastic sheet that you can place over a prepared area to enhance the effect.
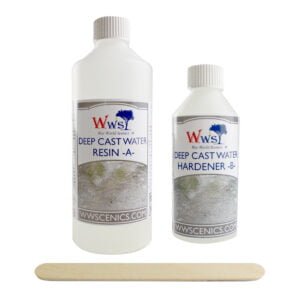
Then there is WWS Deep Cast Water. This is a 2-part resin, that you mix and pour onto your model. How, I hear you asking? Then please read the following:
To get the best out of WWS Deep Cast Resin, you should model the River, Lake, or Sea first. For this article I will use the example of a river (having done a couple). First, decide how you want your river to look and where it is going to flow. Do your research, look at examples of rivers, look at the foliage on the banks, the colour of the grasses, stone mud patches, what type of debris is in the river. Best suggestion, is to go for a walk along a river – if that is not possible then look on the internet.
Once you have the inspiration, sketch it out on to paper just so you can start to visualise how it is going to look. Add all the detail that you have decided to go with including the colours of the grass and muds, and make a note if it is dry or wet mud. Also, make a note of how high the riverbanks are, this will help when building them on your model.
Now, it seems long-winded but trust me it is worth planning! This way you will not forget any of the little detail that you have seen and wanted to include.
The next stage is to transfer that sketch onto your model. Draw with a pencil the rough flow of the river, even mark with an arrow the flow. This is an important mark for when you are placing stones or debris, you want to make sure they are going with the flow.
Now you are ready to build the riverbanks! There are many ways to do this and lots of various products to choose from.
This is what I use:
This is a dense foam that you can carve, sand and shape. Using a craft knife, or old bread knife, carve out the basic shape. Use your reference to check the height, shape and how steep the banks are. Once you are happy with the shape, glue it onto your model. WWS Basing Glue is great for this, put some weight on top of the foam, just to hold it in place. Leave to dry for about an hour.

Once your model glue has dried you can now add texture. To do this you can use WWS Fibre Mould. This is a plaster-based product that has product mixed into it to give it texture. Measure out how much you need into a mixing bowl and start to add water. I add the water slowly, to get the mix the way I require it. Once you are happy, start spreading the mixture onto the foam. Shape it with your hand. It is a good idea to wear gloves at this point. Keep smoothing the fibre mould to get the shape you have designed. It will start to go off quick, but if you keep sprinkling water on and smoothing it, you can keep shaping it. You can also leave it rough, which you can turn into a ‘rocky’ looking bank. Now leave it dry – about two hours should do it.
Time for a cup of coffee. This next stage is the important one, this is where we get creative.
Now we build the detail, painting, texture, rocks, and grass. Your plaster is dry, we can add the paint. It is up to you what colours you want to us on the banks. It can be browns for earth or greys for a rocky stone look. I always paint with two colours minimum. One for a base colour, the other to dry brush highlight (see how to use WWS Scenery Acrylic Paint for dry brushing techniques).
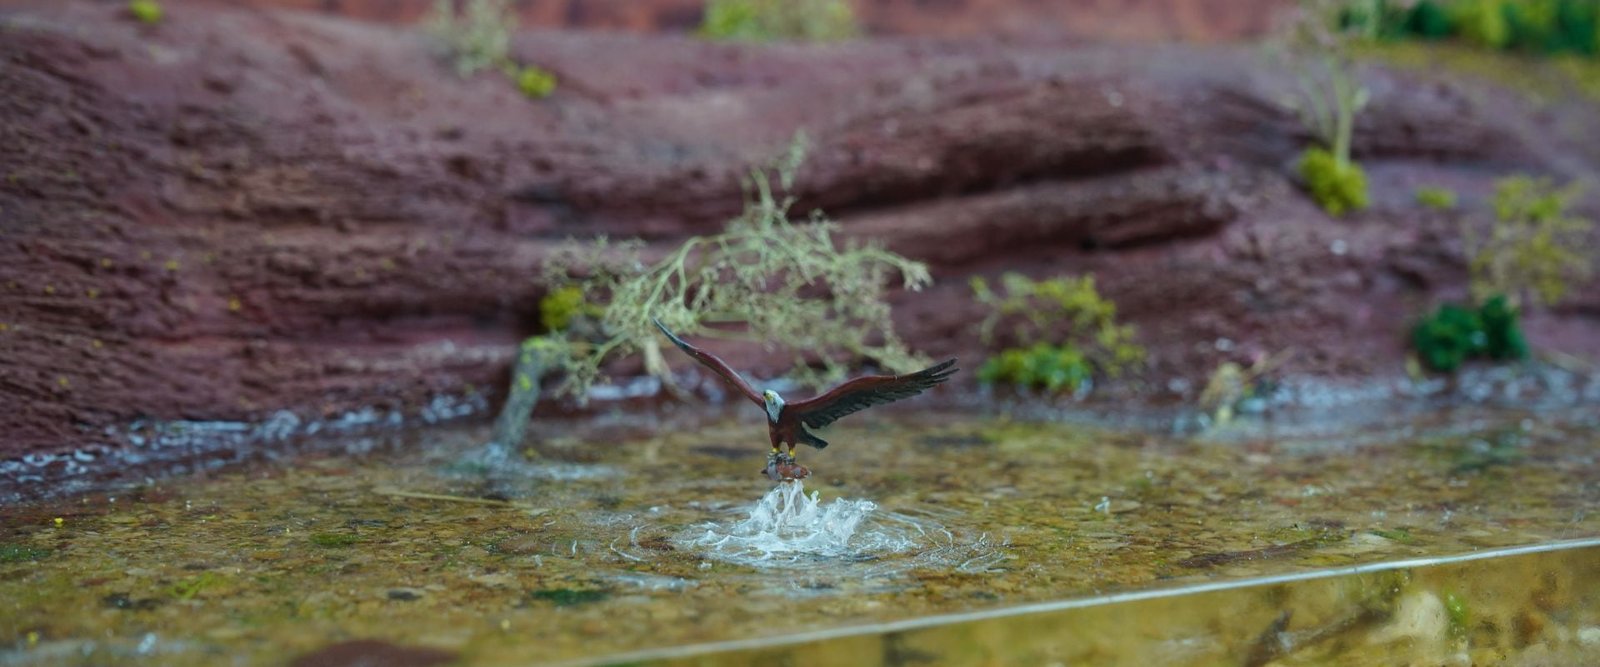
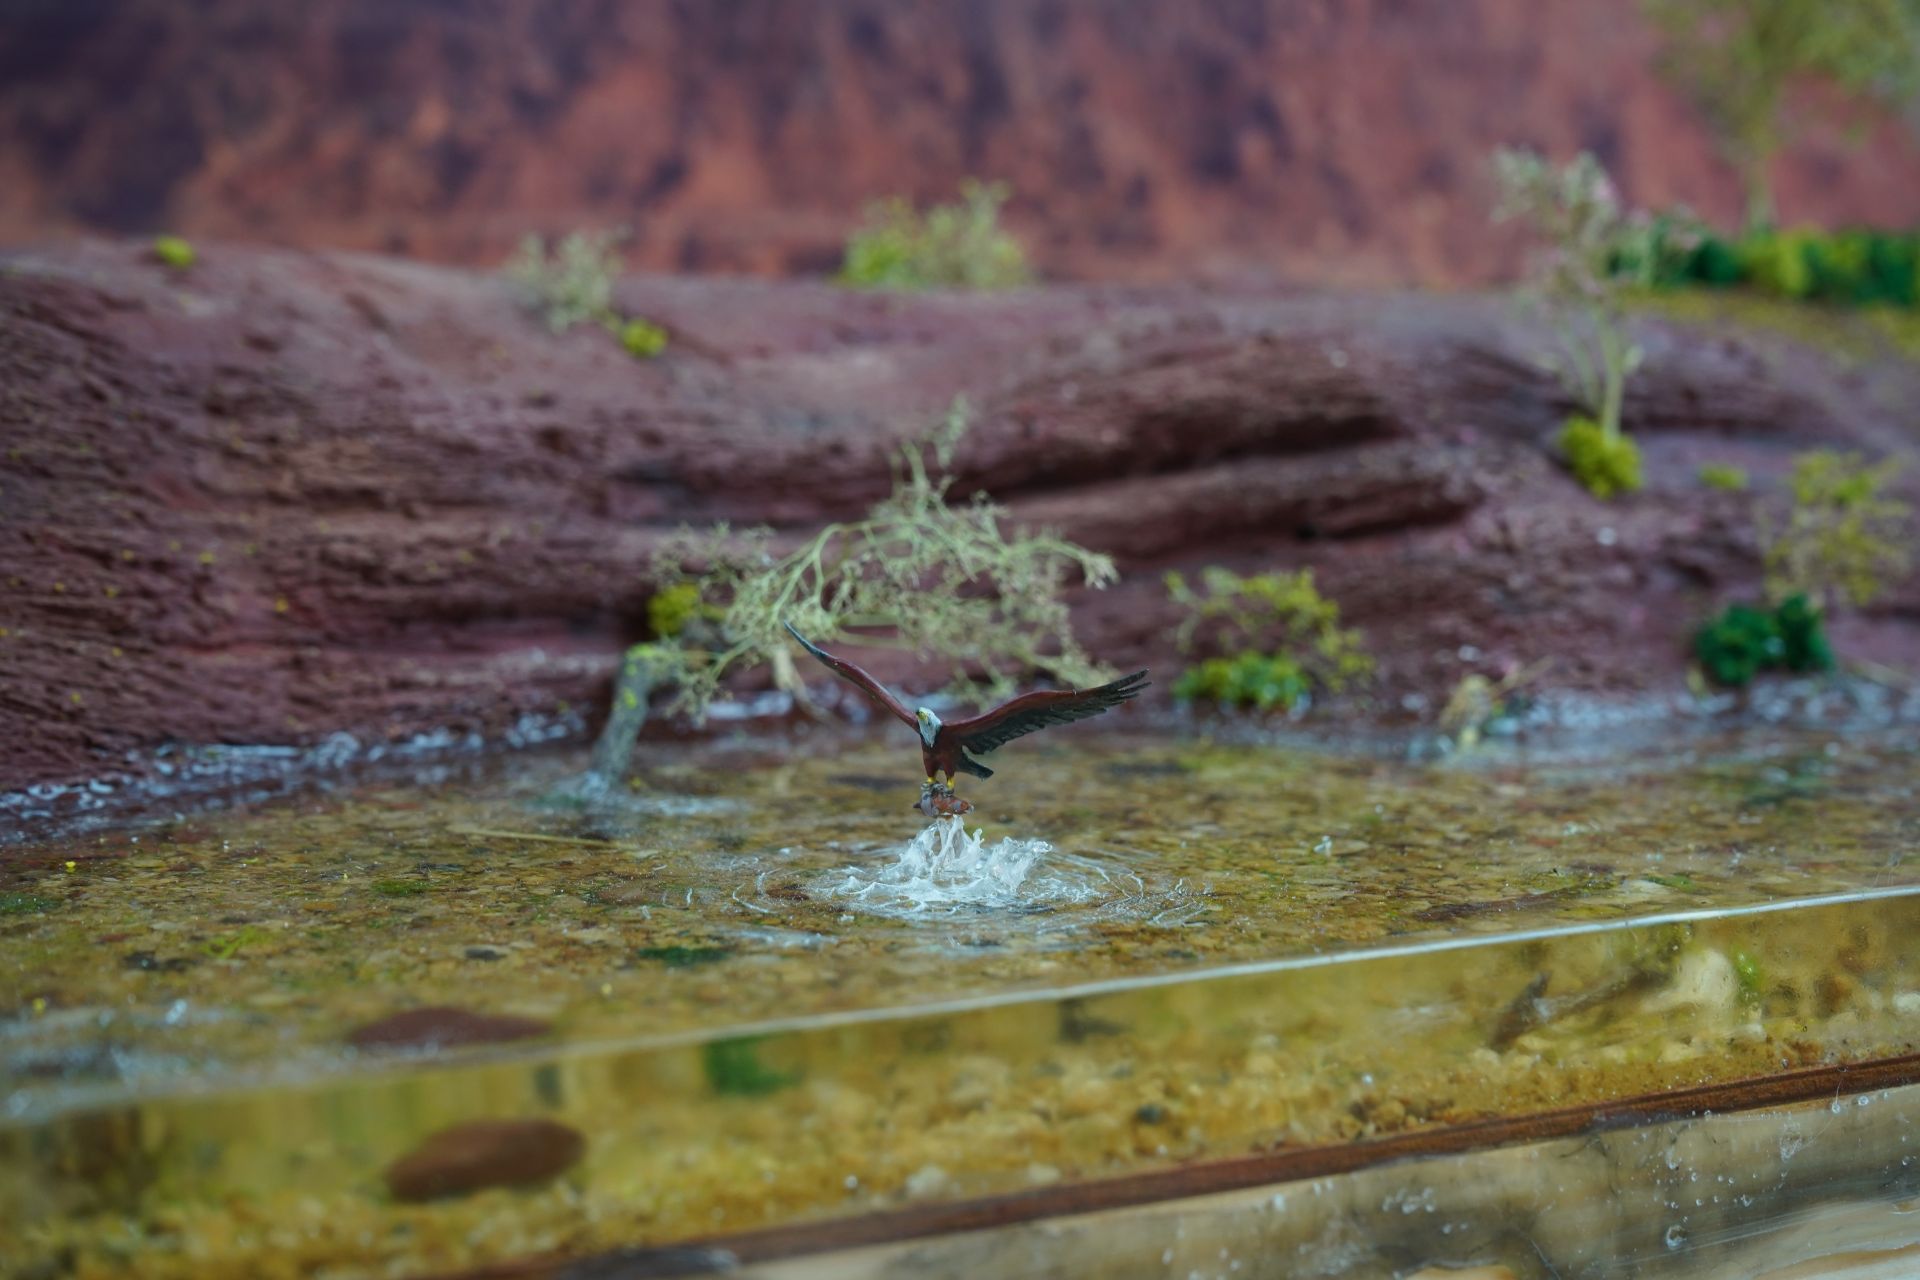
For the riverbed, you want to start light at the banks edge, a light brown colour. Then as you move to the centre of the river, paint darker colours, some greens, and blues. Again, it is up to you. If you are going to colour the resin, there is no need to do the above technique. However, I think if you are using resin then keep it clear, so you can see all that detail you put in. I have some models that I have added fish which gives a great sense of depth.
So, the paint is dry. Now you can start to add the texture, this can be WWS Dry Earth, that will give you an earthy texture, where you can add static grass on top of the earth to enhance the look of the grass and give depth. Do not cover all the earth with grass, applicate the grass in patches.
Another great texture is sand, whether it is a fine sand or a coarse sand with small rocks in it. Add this product to the edge of the banks and into the river flow. You can paint the sand if you like, but I like the colours to be natural, the resin really enhances the colours. All the above can be glued using WWS Basing Glue.
You can keep going and put as much or as little detail as you like. It is up to you, only do not over crowd the river, you want to see the bottom. You can add sea foam branches, as driftwood or branches over the river. Also consider big boulders, these should be smooth as the river would have eroded the boulder. Again, consider the look of them and the flow of your river. Place them carefully, look at your reference or photos on the internet, make sure they look like they should be there, and they face the right way. This is important so when the resin is poured, the flow goes around the boulder and looks natural.
Once you are happy with the look of the river, it is time for the pour. But there are a few things you need to do before you pour the resin. If your model has open ends to the river, you will need to dam these areas. This can be done with 2” masking tape, stick strips along the gap of the river making sure the height is over the thickness of the river. Now use a hot glue gun and go along the bottom edge of the tape, making sure you get a good seal. For larger gaps, you will need something a lot stronger, to hold the weight of the resin back. This can be an acrylic sheet or some plasticard, try avoiding things with texture like wood this will come out onto the resin and will make it harder to sand.
Before you pour the resin, give the base of the riverbed a coat of WWS Basing Glue, this will seal the base.
You need to calculate the amount of resin you will need for the depth of your river. The best way to do this is to follow this link. https://www.wwscenics.com/epoxy-resin-calculator/
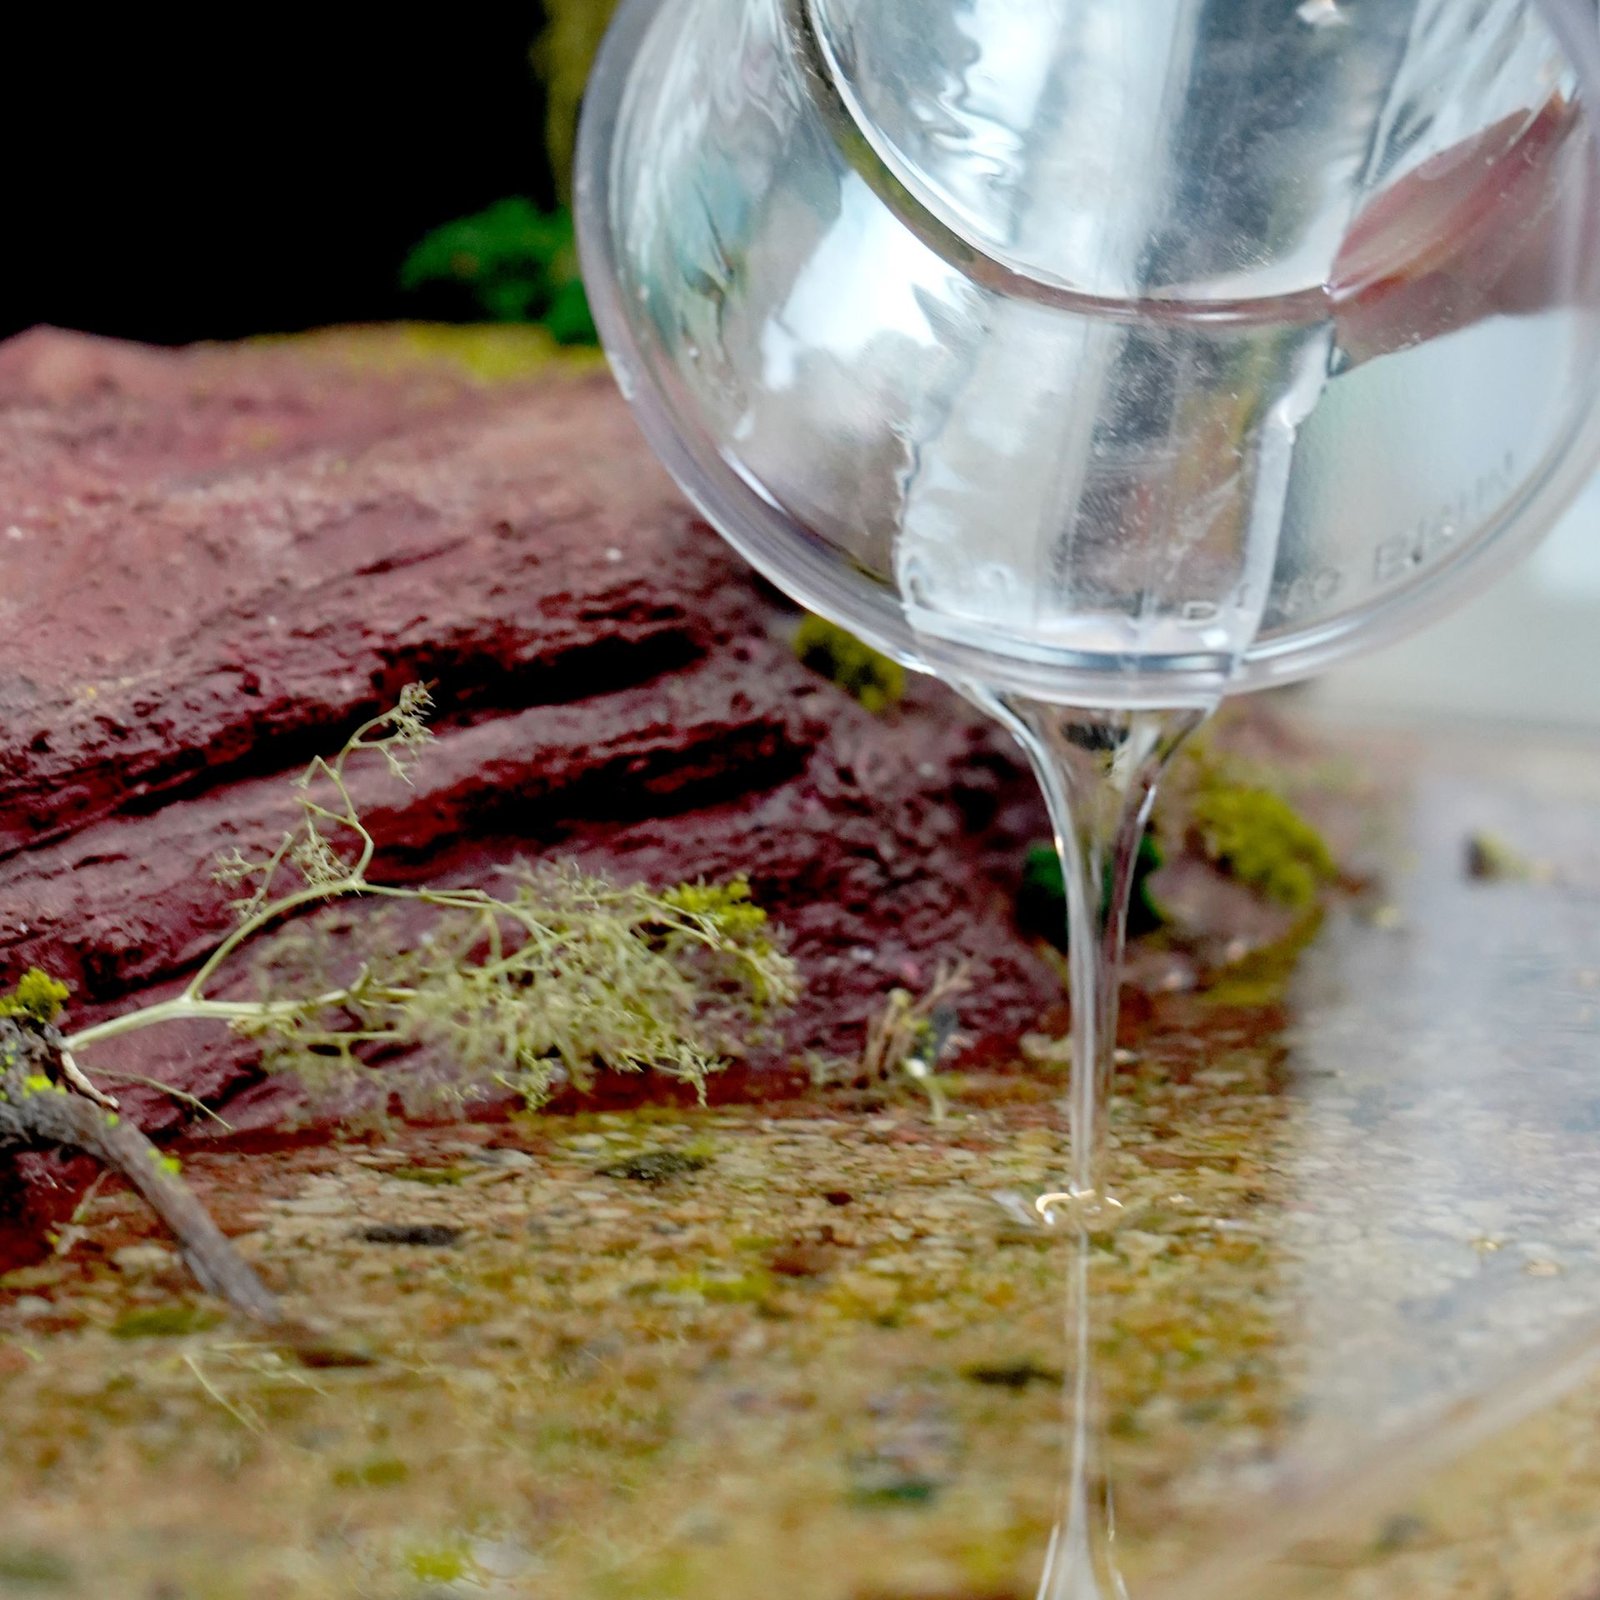
This will guide you on how much to use. Follow the instruction on mixing, slowly stir both parts together taking care not to stir bubbles into the resin. Once you are happy that both parts are thoroughly mixed, start to pour the resin on to the riverbed. Pour around the stones and rocks. You can use a cocktail stick to guide the resin in awkward areas. Keep pouring slowly to avoid creating bubbles, until you reach the depth you require.
Well not just yet, the pesky bubbles. The best way to get rid of them is a flame, but you must be very careful. Only briefly expose the flame to the resin, just enough to get rid of the bubbles. You will have to keep going back to the river to check on bubbles. If there are bubbles, then repeat the process.
The resin takes a minimum of 48 hours to go off. I would leave it as long as you can before removing the dams. Once you are happy that it is dry enough, then remove the dams. Once the tape has been removed you will see a dull finish. If the edge of the river is exposed on your model and you want it to look it’s best, use some fine grit sandpaper and sand the exposed resin edge. Keep sanding until you get a smooth surface, then mix a small amount of resin and with a small brush paint the resin onto the sanded area. This will make the edge look like glass and you should be able to see right into the river. You should be able to see all that lovely detail that you spent hours doing.
Okay, you have a lovely see-through river scene; you can see straight through it. But it is a river, and you need ripples and rapids. WWS Acrylic Water is great for this, it is a cream like product, that dries clear. But it keeps its shape, so you can build it up around the boulders. It will looks like the water is building in front of the boulder or around anything that would cause a ripple. You can add some rapids in the same way, use a lollypop stick to add the product, just follow the flow of the river, and look at the reference to help. Once it is dry, (you will know this as it dries clear), use the dry brush technique to brush white paint onto the raised areas.
That’s all folks!!
So, I hope you found the article helpful, and you go on to make a realistic looking river. Thank you for taking the time to read this. Happy modelling.
Written By Martyn Rees
Bringing You the latest News from the WWScenics Community: New Releases, Tutorials, Tips & Tricks to improve your modelling, Upcoming Events, Exclusive Offers, and so much more!