![]()
How to use Realistic Tree Kits
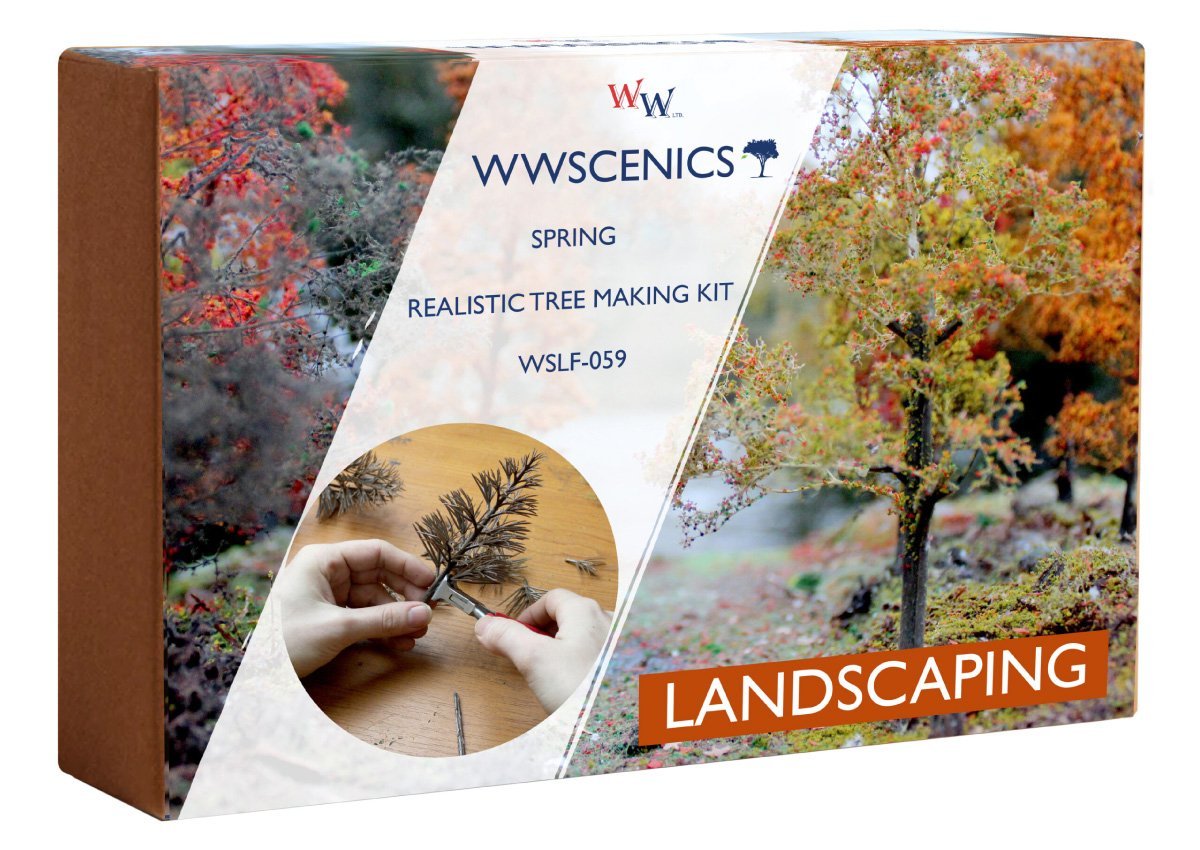
Recently, WWScenics launched a range of tree making kits. So, in this article I am going to cover how to use them.
What is in the box?
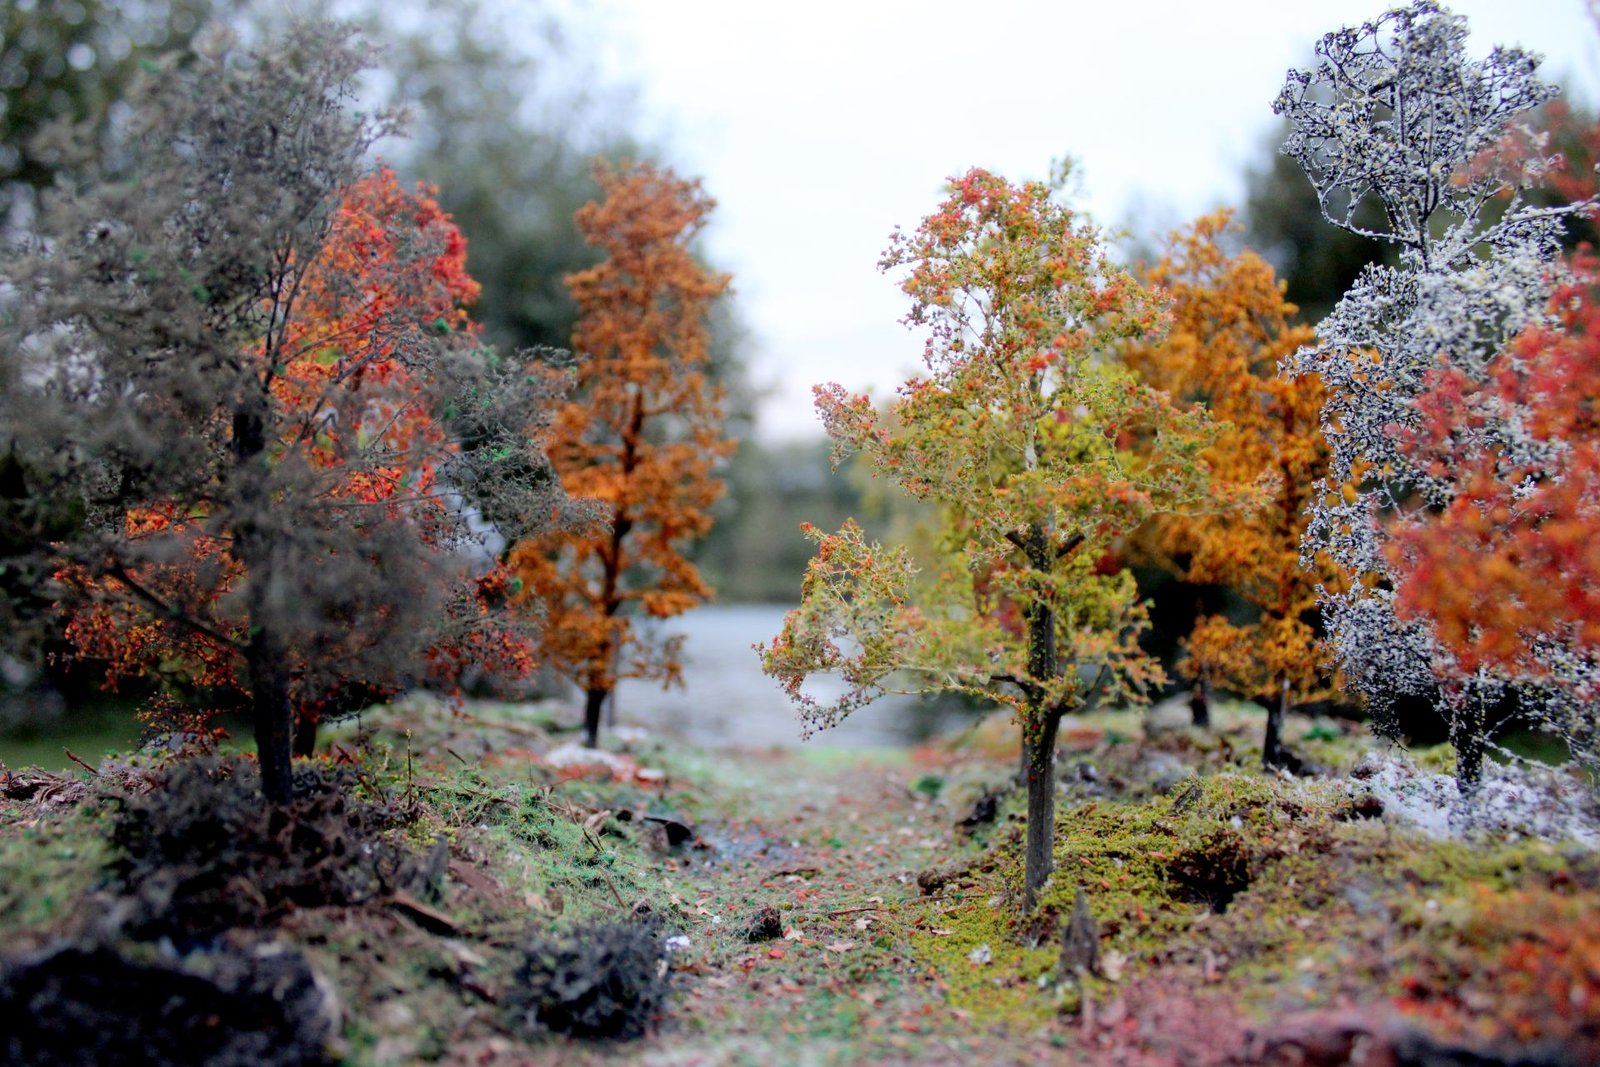
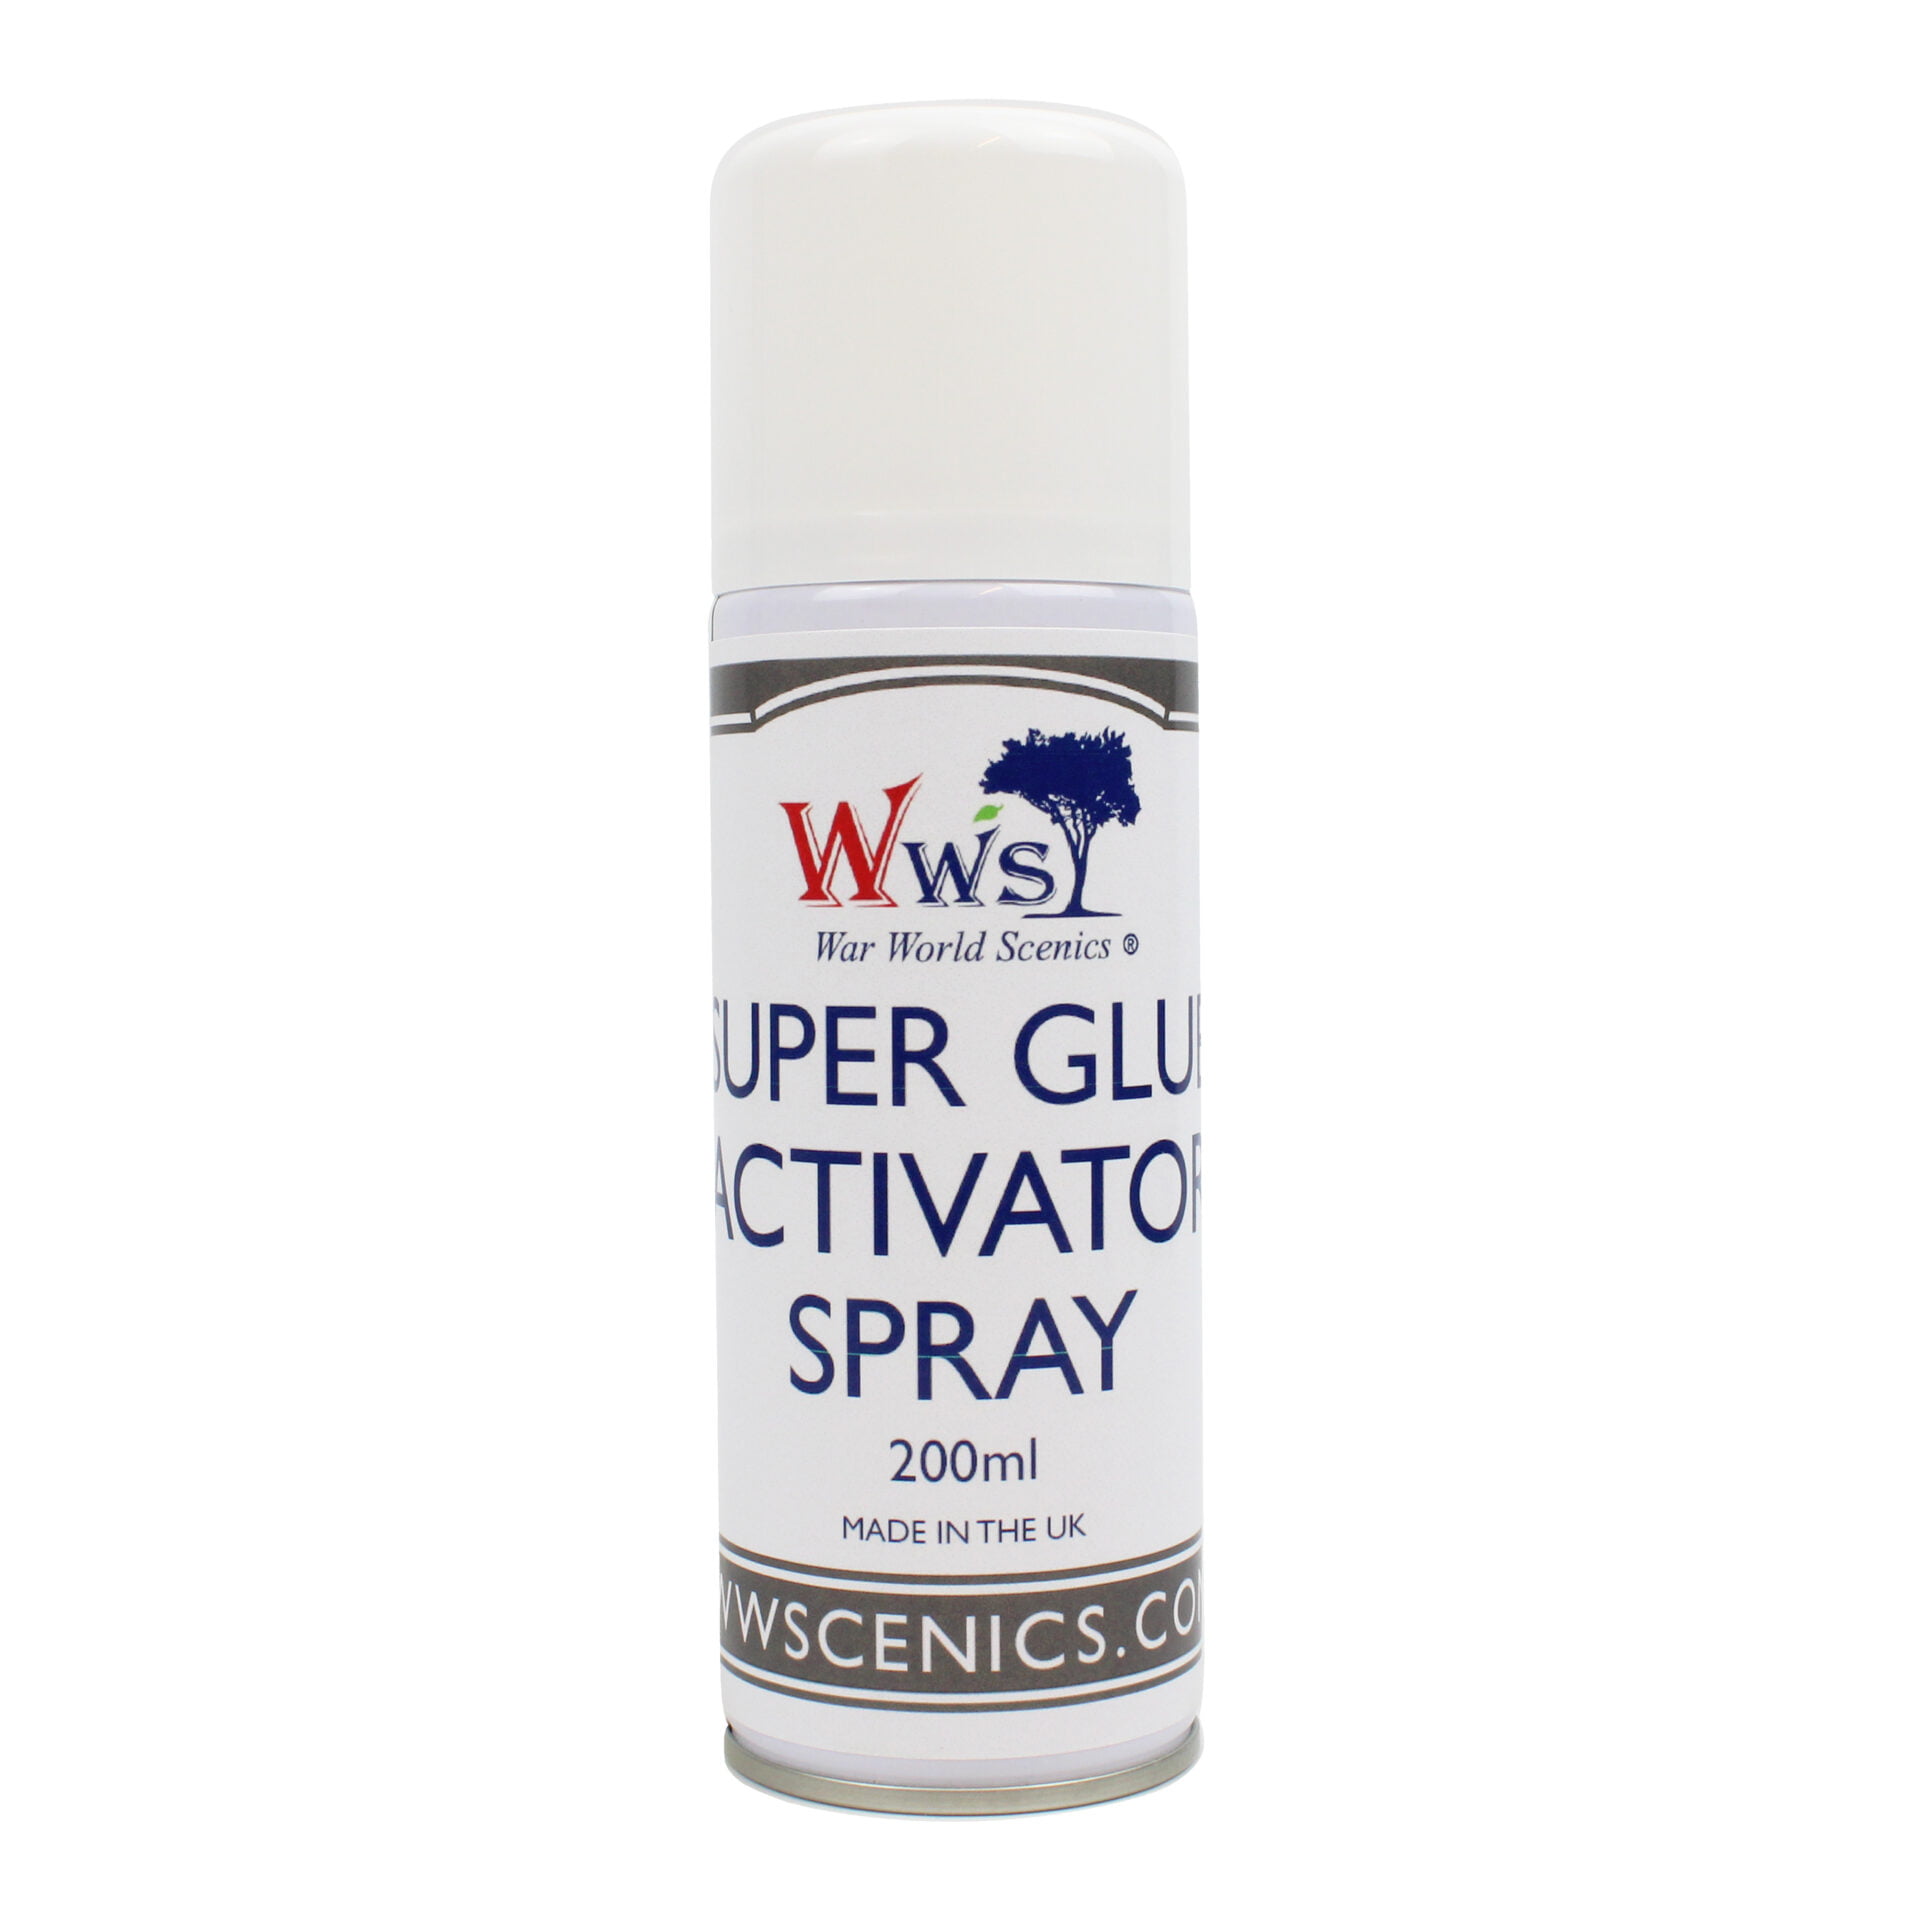
The tree kits come with all the materials to build a realistic tree, except for your model glues – spray glue, superglue, and the accelerator. Oh, and you will need snips for cutting too. There are many options of making a tree with the kits.
- You can use the plastic tree, add some of the foliage
- Use the sea foam tree on its own, again sprinkle some foliage on it.
- Or follow these next steps and make a realistic tree you can be proud of.

The birth of a new tree.
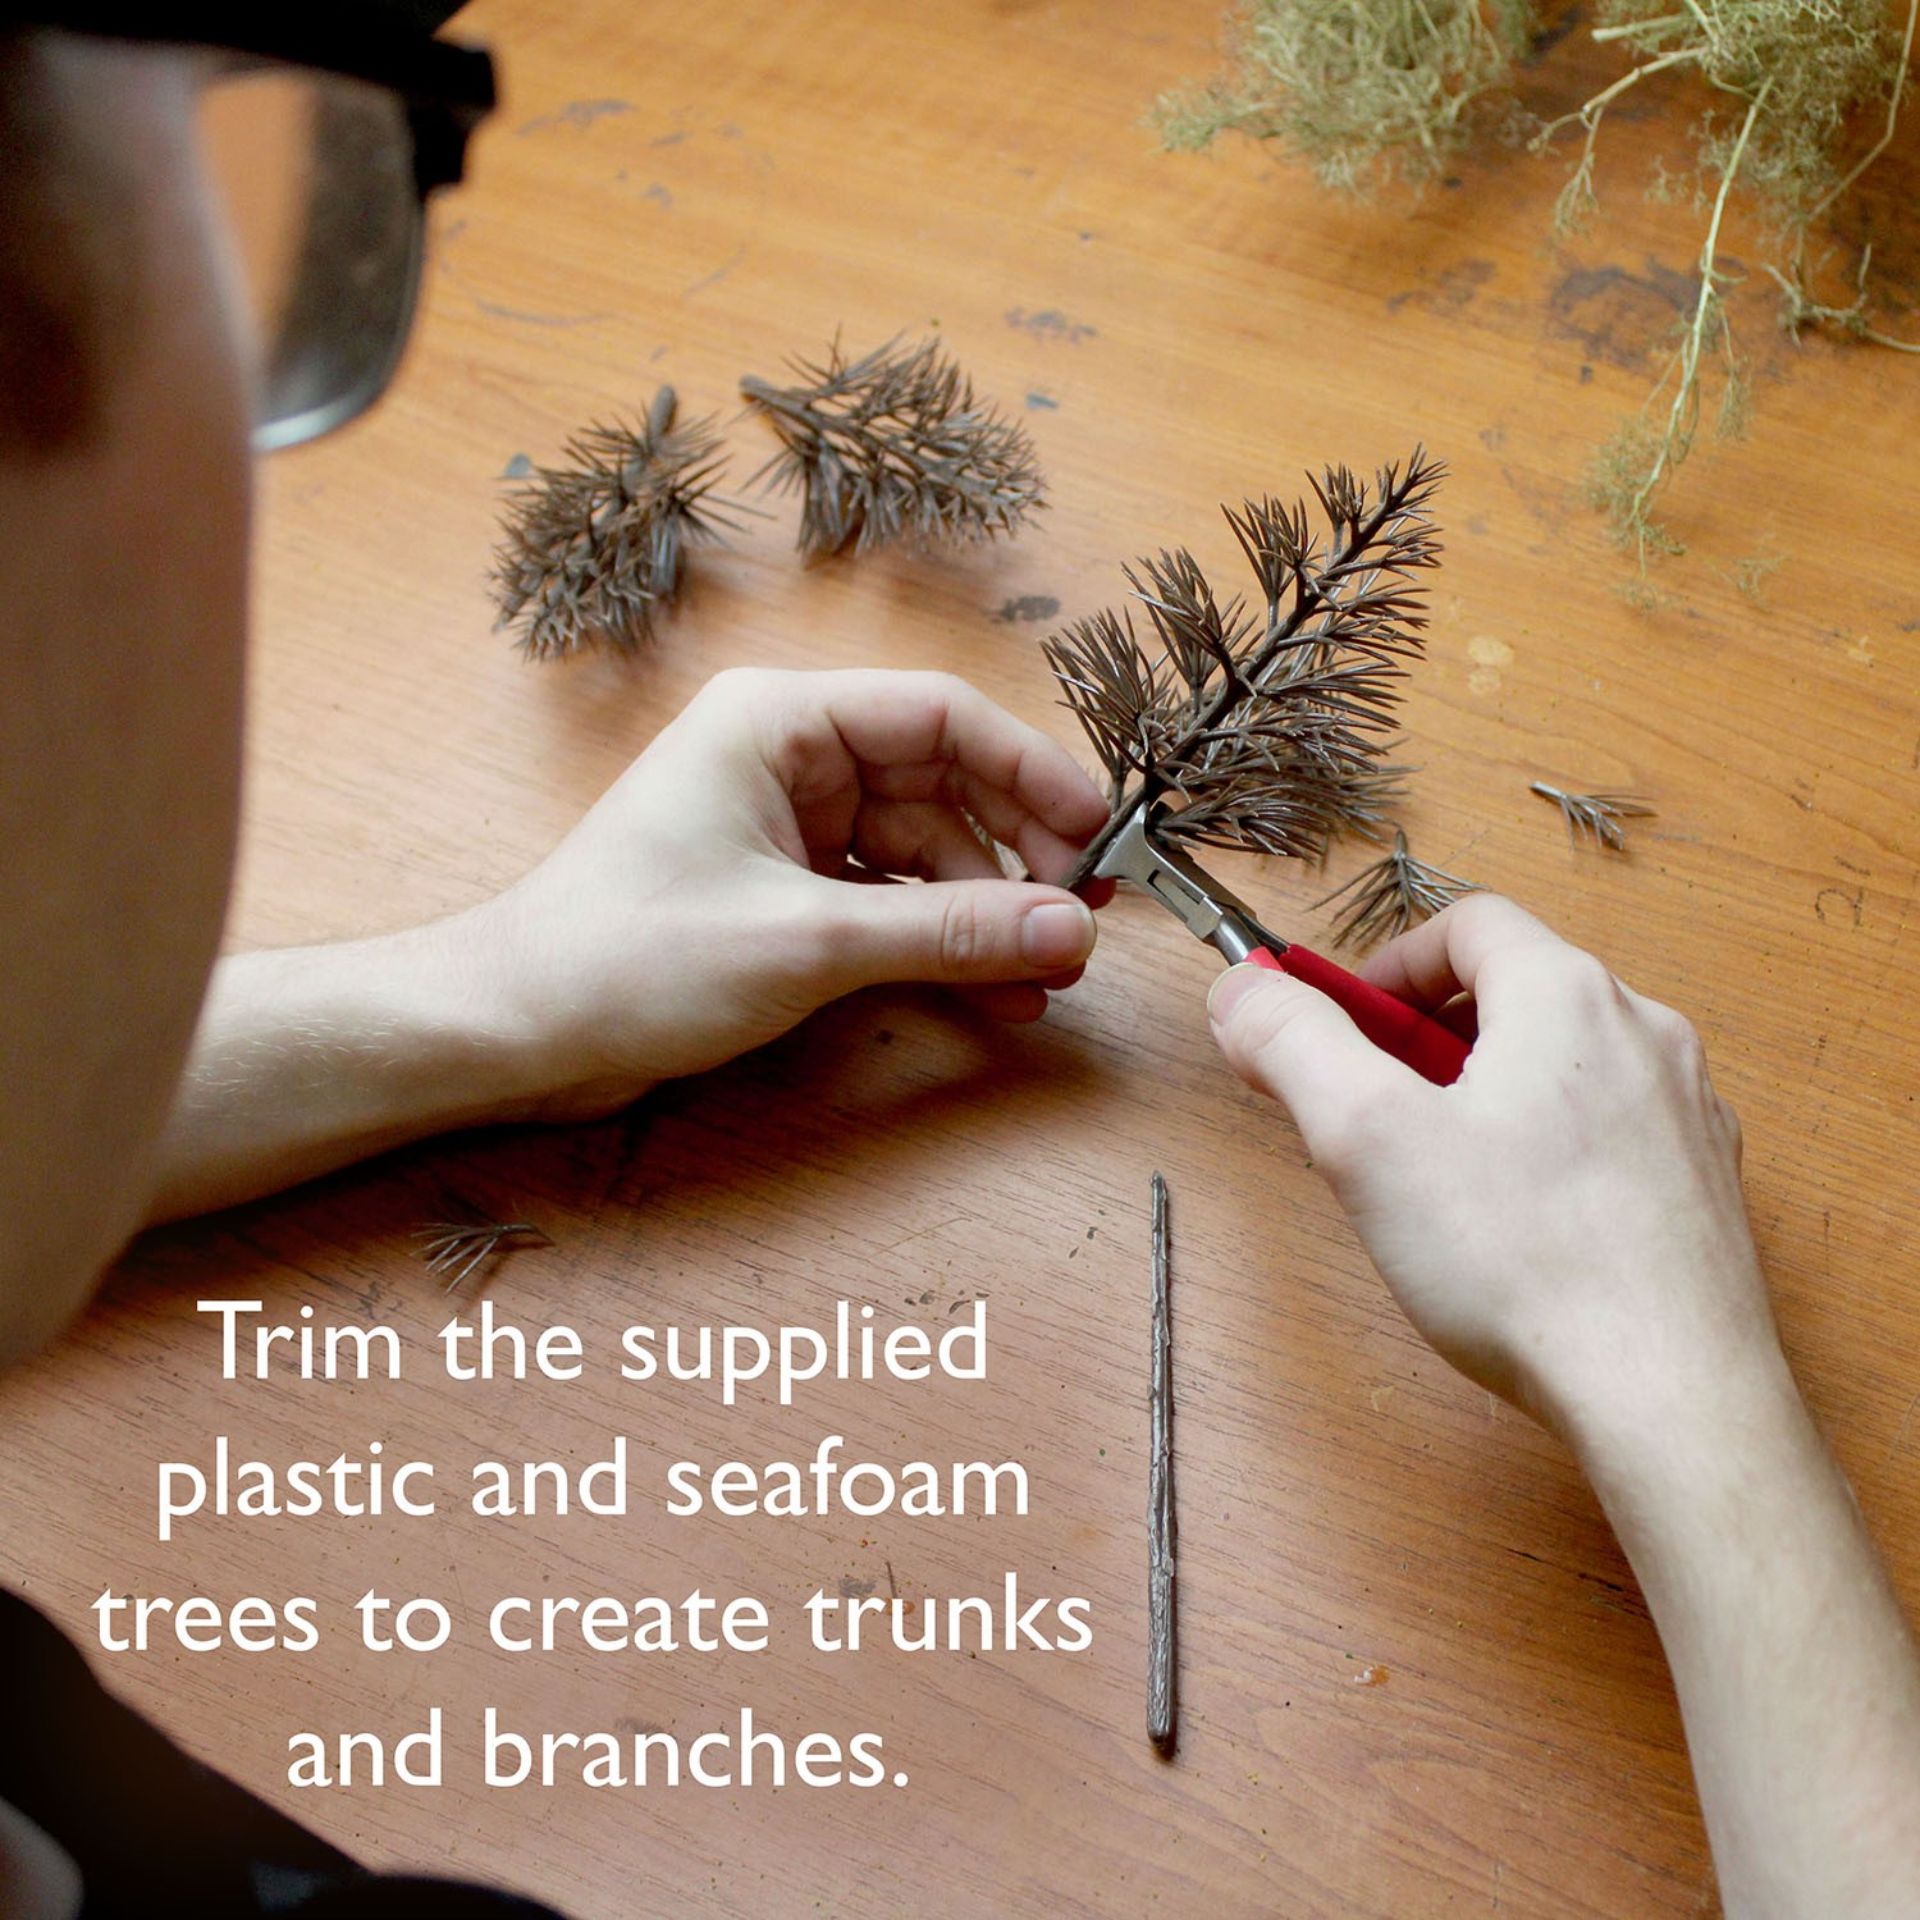
Take one of the brown plastic trees, with the snips, start to cut off all the branches, make sure you leave a little stump on the trunk. Yup you heard me – all the branches so you are left with just the trunk. You are going to need a clamp, modelling vice or something that will free your hands (you do need three hands for this). Clamp the bottom of the trunk and stand it in front of you.
Here comes the creative bit.
The selection process of this next step is vital for a great looking tree. Take one of the sea foam trees and start to select branches that can be glued onto the trunk. But be careful in your selection. As always, look for reference in nature, look on the internet for different shapes of trees. You can make tall skinny trees, or Christmas shaped trees. As long as it has a branch that grows outwards from the trunk, you should be able to model it.


How does it work?
Right, you have your first branch, make sure you have it the right way up (the foliage should be facing up to the top of the tree). Apply some superglue on the trunk where you want the branch to go. As you do so use your other hand to spray a small squirt of accelerant onto the superglue, gently blow so the accelerant evaporates.


One down.
Keep doing the above process to build the branches until you reach the top. Look for a good top from the sea foam trees and cut it at the required length. Test fit it to see if it looks right (test fit means no glue yet). Once you are happy with the look of the top of your tree. Glue it in place.
Now that looks like a tree.

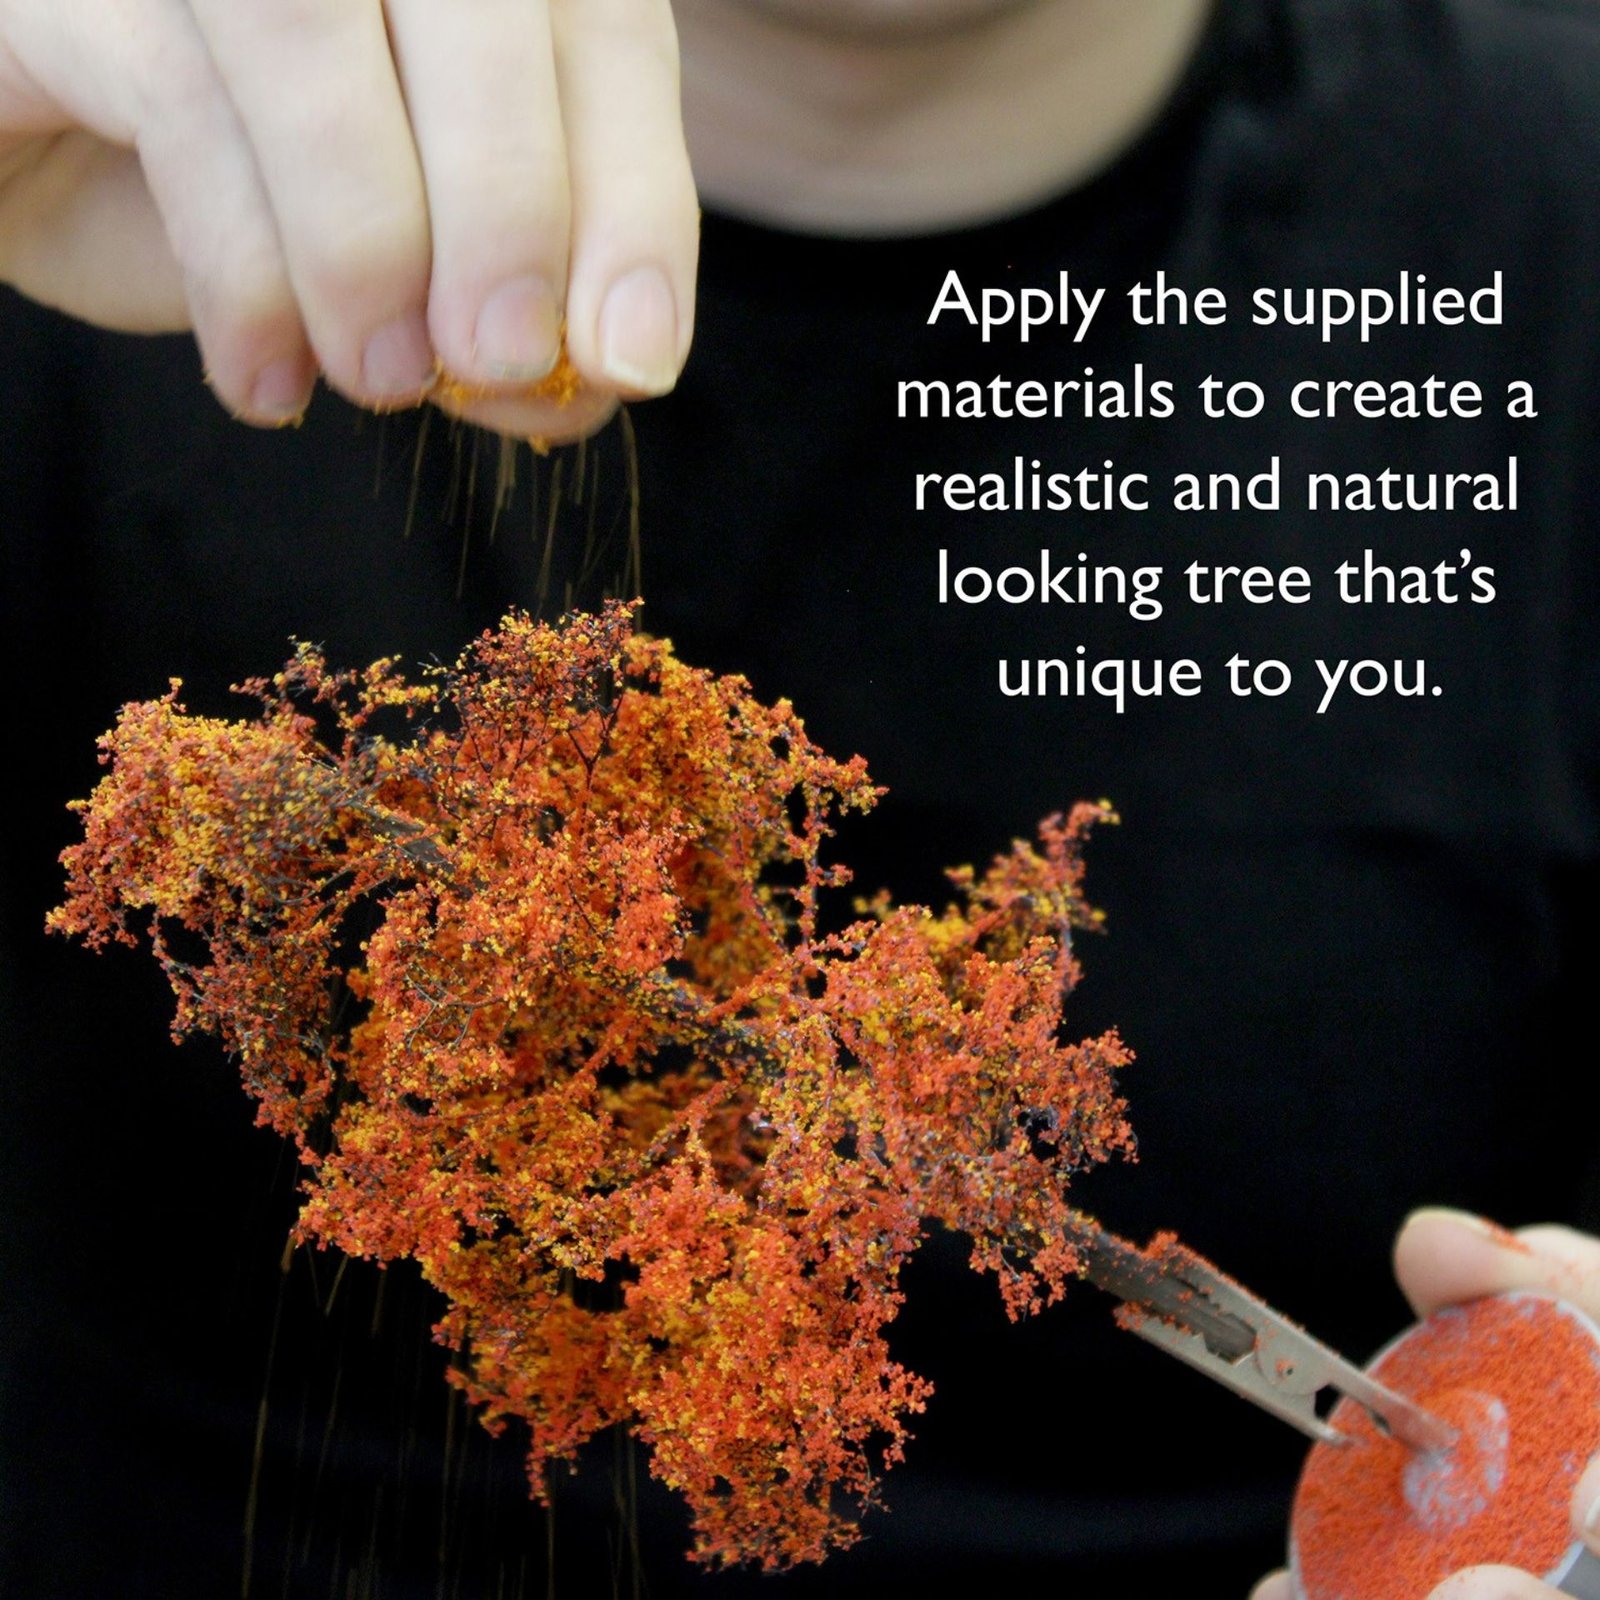
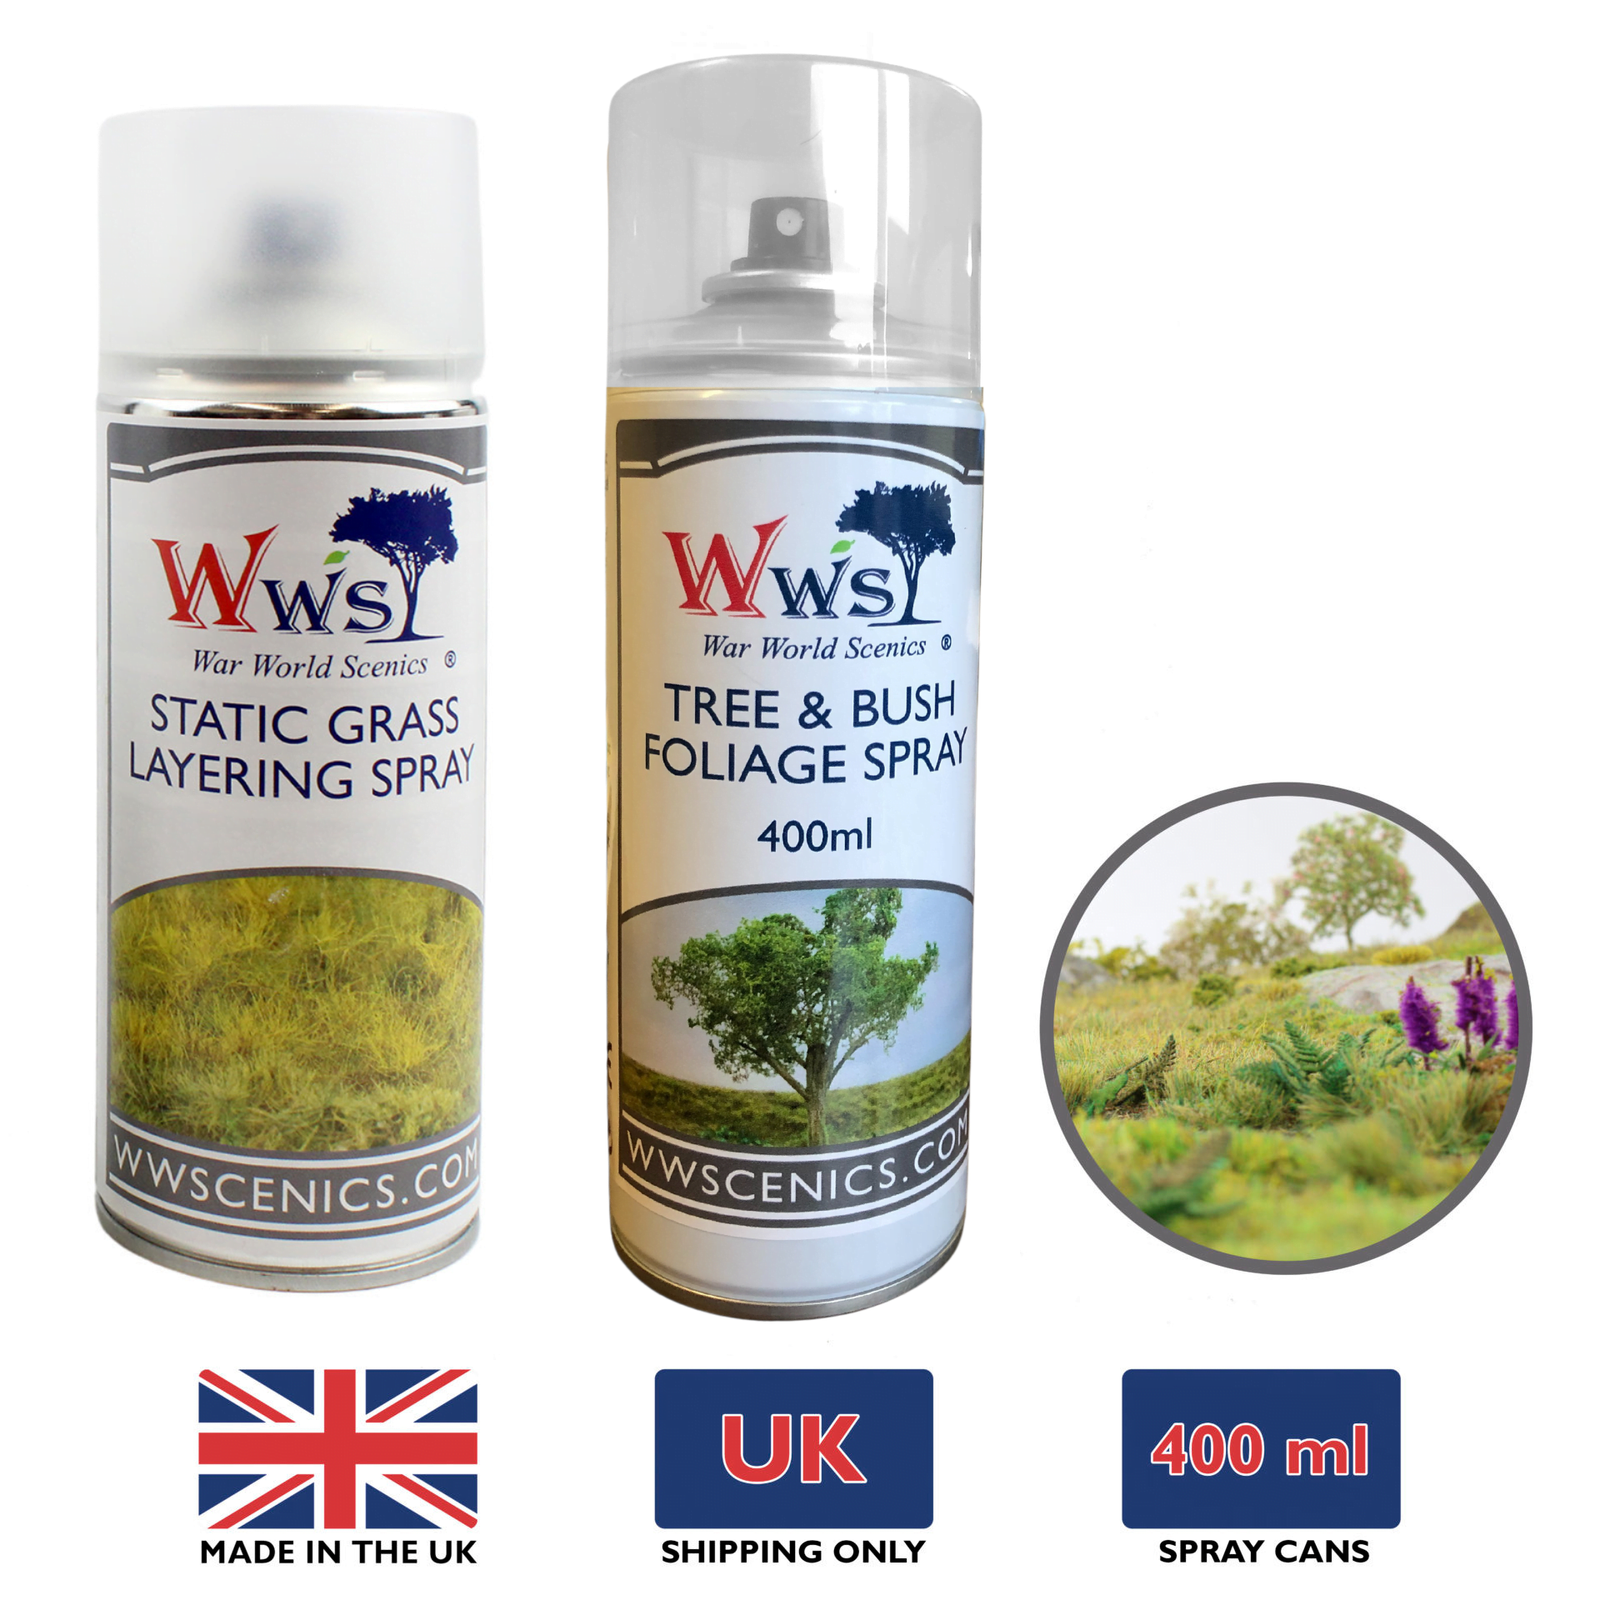
Hopefully at this point you are smiling with the result, and you are ready for the next stage. This is adding the foliage to the branches. Use a fine spray adhesive, avoid spray mount as it leaves little white balls that look horrendous. I suggest WWS Layering Spray. It is a fine spray that dries clear without the annoying white balls. Before you start though, put a catch tray under where you are going to sprinkle on the foliage, this can be as basic as a piece of A4 paper. So, you can reuse the foliage again on your other trees.
It’s a spraying time.
Now you are ready for the foliage. Select the base colour of your chosen kit, for this example we will use a green colour. Spray the whole tree from the top down, then over your catch tray. Sprinkle the tree with the foliage, twist the tree to make sure you cover all the branches.
Adding a bit of colour.
Some of the kits come with flower scatter. It is up to you if you want to use them. I like to use them; they are a fine foliage that add a subtle colouring to the tree. To me they make the tree look more realistic. Just follow the above method, make sure you empty your catch try first. This time gently sprinkle the flower scatter, try to leave some green patches.
Hopefully, you are smiling from ear to ear.
That is it, you should be sitting admiring the creation you have, created yourself. You should now be proud and confident to make more. Thank you for taking the time to read this, I hope you have found this article helpful, and you enjoy making many more trees.
Written By Martyn Rees
Model Trees
At WWScenics, we offer an extensive variety of ready-made model trees to add depth and realism to any model, diorama, wargaming battle board or model railway layout. While we have the tools to help you create your own trees from scratch, it is sometimes easier to add professionally made trees that are ready to use into your scene or diorama. We offer a large array of model trees, from apple trees to pine trees, yew trees, fruit trees and Christmas trees, all in a variety of shapes, sizes and colours to perfectly match whatever season you are working with and the size of your diorama.
…
Sign up to scenery news
Bringing You the latest News from the WWScenics Community: New Releases, Tutorials, Tips & Tricks to improve your modelling, Upcoming Events, Exclusive Offers, and so much more!